Inspect support bundles
You can use the Vendor Portal to get a visual analysis of customer support bundles and use the file inspector to drill down into the details and logs files. Use this information to get insights and help troubleshoot your customer issues.
To inspect a support bundle:
-
In the Vendor Portal, go to the Troubleshoot page and click Add support bundle > Upload a support bundle.
-
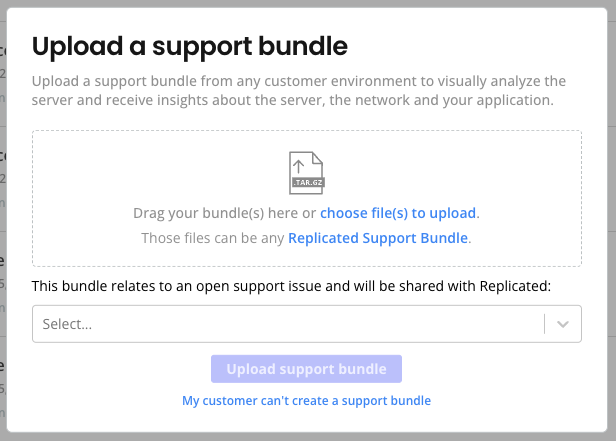
In the Upload a support bundle dialog, drag and drop or use the file selector to upload a support bundle file to the Vendor Portal.
-
(Optional) If the support bundle relates to an open support issue, select the support issue from the dropdown to share the bundle with Replicated.
-
Click Upload support bundle.
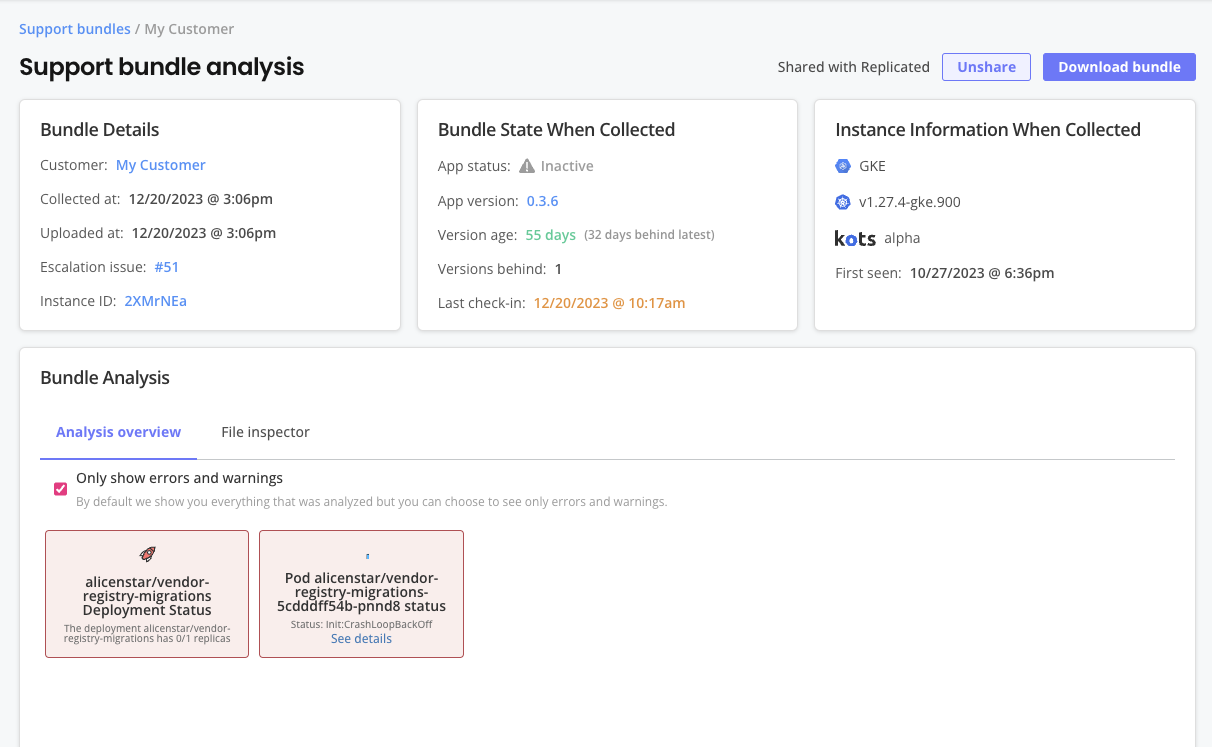
The Support bundle analysis page opens. The Support bundle analysis page includes information about the bundle, any available instance reporting data from the point in time when the bundle was collected, an analysis overview that can be filtered to show errors and warnings, and a file inspector.
-
On the File inspector tab, select any files from the directory tree to inspect the details of any files included in the support bundle, such as log files.
-
(Optional) Click Download bundle to download the bundle. This can be helpful if you want to access the bundle from another system or if other team members want to access the bundle and use other tools to examine the files.
-
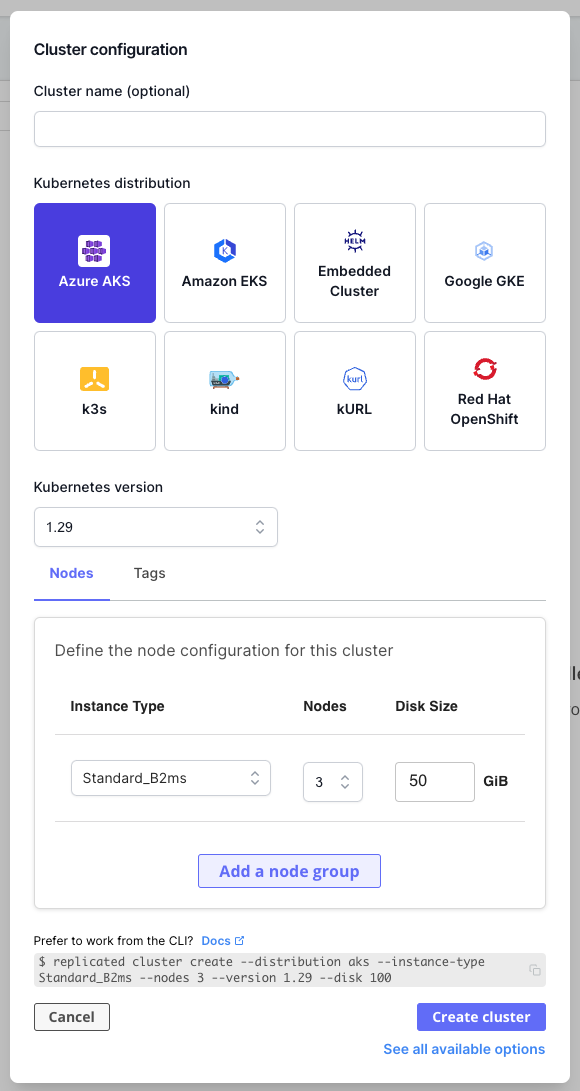
(Optional) Navigate back to the Troubleshoot page and click Create infrastructure to provision a customer-representative environment for troubleshooting with Replicated Compatibility Matrix. For more information about creating environments with Compatibility Matrix, see Create and Manage Environments with CMX.
-
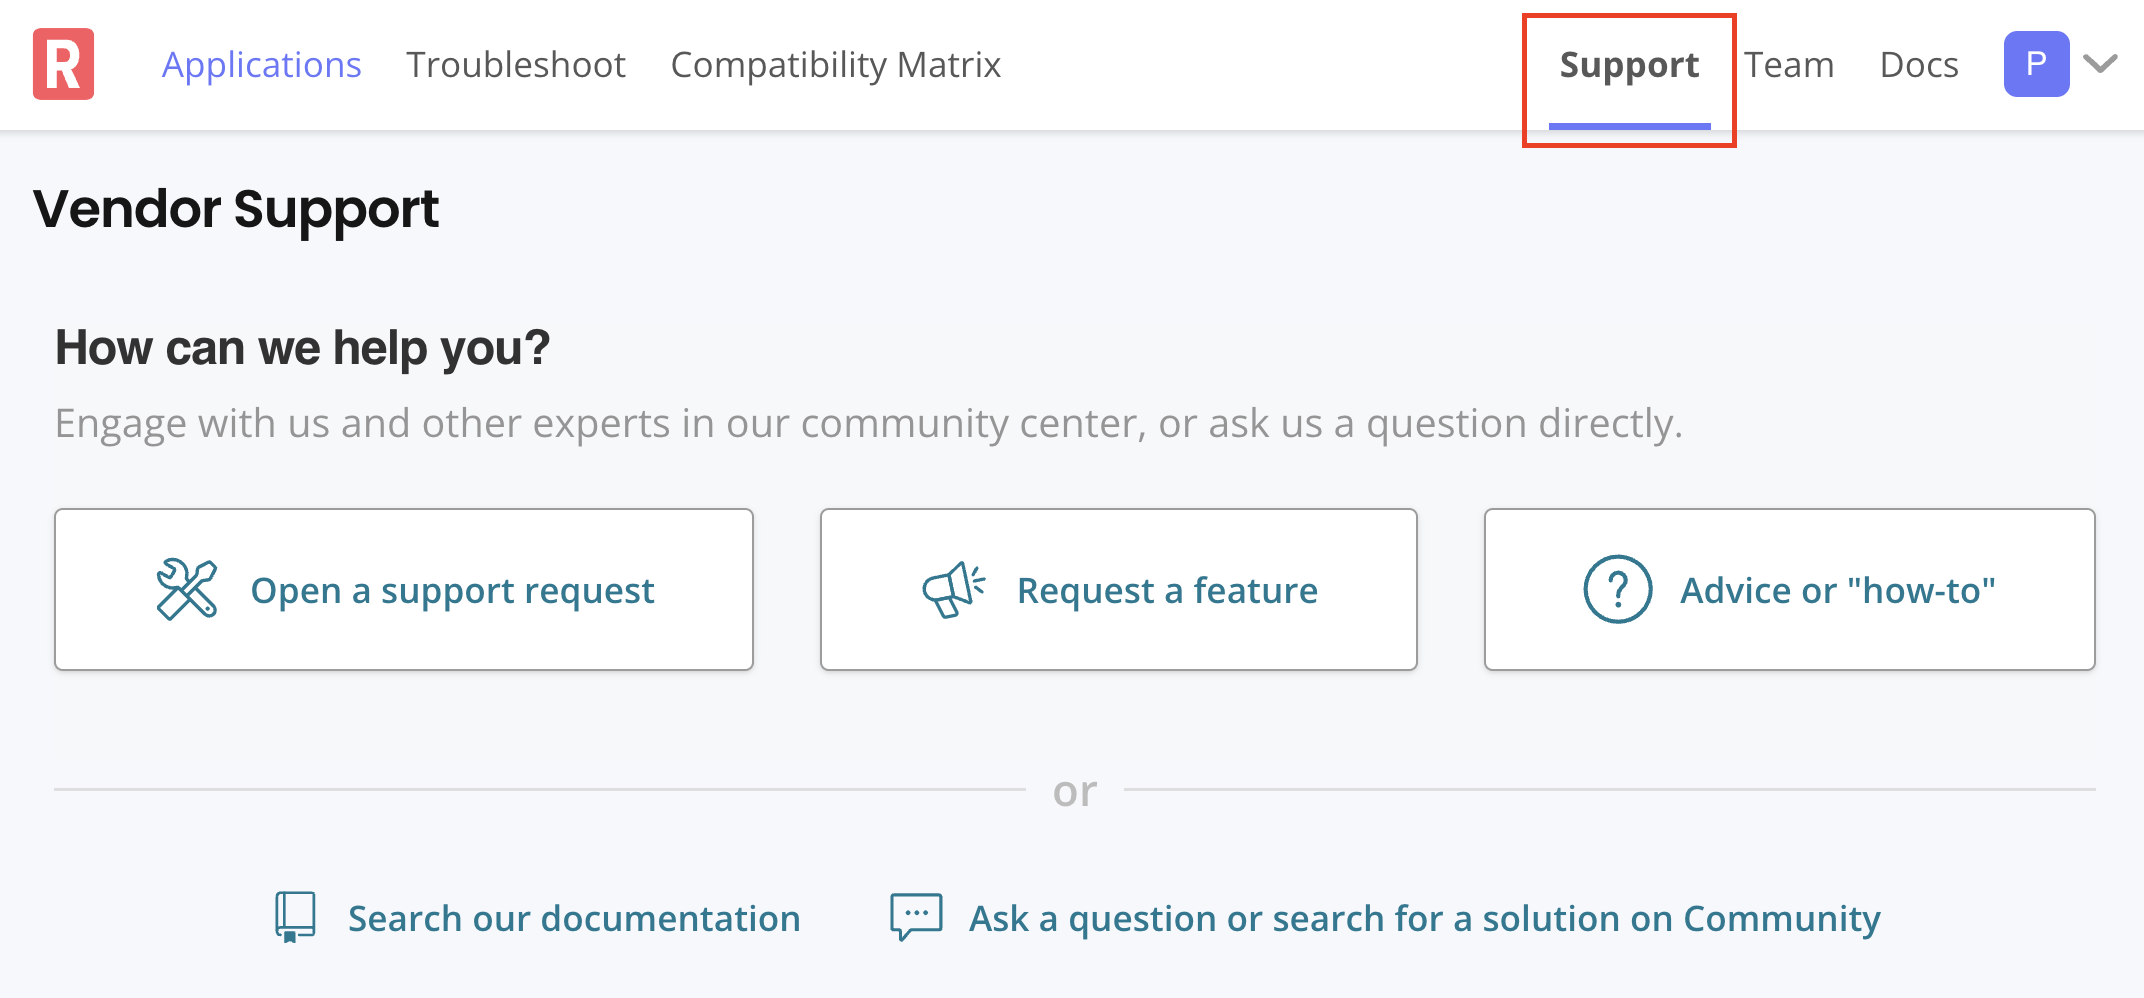
If you cannot resolve your customer's issue and need to submit a support request, go to the Support page and click Open a support request. For more information, see Submit a Support Request.
noteThe Share with Replicated button on the support bundle analysis page does not open a support request. You might be directed to use the Share with Replicated option when you are already interacting with a Replicated team member.
Delete a support bundle
You can delete a support bundle that has been uploaded to the Vendor Portal. Deleting a bundle permanently removes it and its analysis from the Vendor Portal.
Delete a bundle when it contains sensitive data that should not be retained, such as customer credentials, secrets, or other confidential information that was captured in collected logs or files.
Deleting a support bundle is permanent and cannot be undone. If the bundle was shared with Replicated as part of a support issue, deleting it removes your uploaded copy from the Vendor Portal.
Delete from the Vendor Portal
-
In the Vendor Portal, go to the Troubleshoot page.
-
In the row for the support bundle that you want to delete, click the options (three-dot) menu, then click Delete.
-
In the Delete bundle dialog, click Delete bundle to confirm.
Delete with the Vendor API
To delete a bundle programmatically, such as for bulk cleanup or as part of an automated data-retention workflow, use the deleteSupportBundle endpoint. This requires a Vendor API token with the team/support-issues/write RBAC policy and the ID of the bundle you want to delete. For more information about API tokens, see Using Vendor API v3.